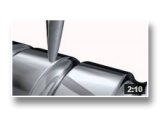
Our measurement philosophy


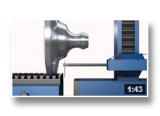
Through our two-axis measuring procedure, the complete movement range conforms automatically the usable measuring range. Therefore the contour and roughness even of complex parts can be measured simultaneously with high precision. During the process the tracing arm stays horizontal at all the times. That way we measure as you manufacture! The fully automated measuring and analysis is topped by the CNC mode.

Video download: 512 x 288 | 960 x 540 | 1920 x 1080

The rotary-swiveling table RSY 240-25


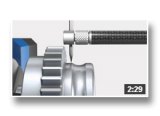
Why complicated? Things can be so easy: Our 4 in 1 measuring station with integrated rotary-swiveling table.

Video download: 512 x 288960 x 5401920 x 1080

Comparison with a pivot point machine


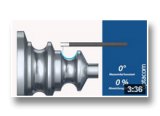
A comparison between conventional pivot point measuring machines and our two-axis measuring concept. This makes the measuring range equal to the complete travel range!

Video download: 1920 x 1080

The impact of different stylus tip geometries


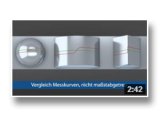
A comparison of optacom standard stylus tip with a ceramic stylus tip with flattened tip geometry. The measurement error, which originates from a not correctly aligned workpiece to the stylus tip, is analyzed in particular.

Video download: 512 x 288960 x 5401920 x 1080

Comparison of stylus tips on a spindle


A comparison of different stylus tip geometries when measuring spindles. Choosing the wrong type can distort the measurement by up to 20%!

Video download: 1920 x 1080

Wir verwenden Cookies, um Ihnen das beste Nutzererlebnis bieten zu können. Wenn Sie fortfahren, diese Seite zu verwenden, nehmen wir an, dass Sie damit einverstanden sind. · Datenschutzerklärung

EU Cookie Directive plugin by www.channeldigital.co.uk